We moved house in early April and, as we both work from home, our first priority was getting some office space sorted. Here is part one of that story, deciding on and building the garden office!
We love our new house, bungalow living is awesome and having a gorgeous garden for the first time in nearly ten years in amazing. However the house in it’s current configuration doesn’t lend itself to having an office inside and with two businesses to find a home for we really needed a dedicated space, so we turned our attention to our lovely garden! Putting an office in the garden made perfect sense, our new plot was big enough that we could put a reasonable sized building in without loosing too much usable space and having a bit of separation from the house itself seemed like a good thing psychologically!
The process didn’t really take very long once we’d made our minds up but there were months of research put in before we even moved house (if you need a list of all the garden building suppliers in the country, just let me know!). In the end we decided to go with a local company called Green Retreats mostly because we could visit their showroom and see exactly how things would look. Ours is a 3 x 4 metre Garden Studio which is plenty big enough for two of us to work in plus space for a small sofa bed for extra guests!
Starting point
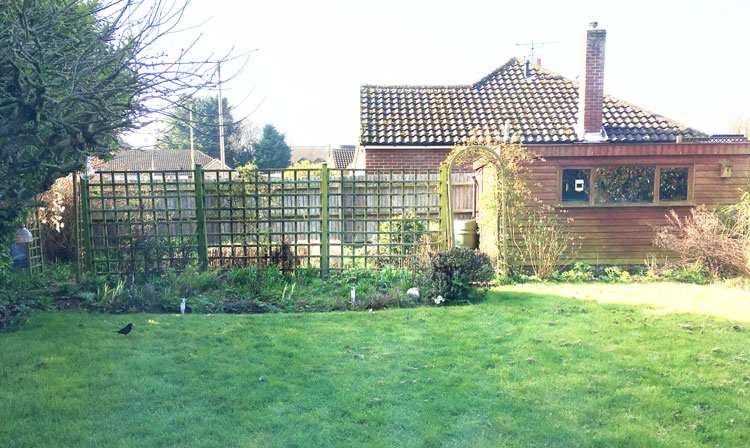
This was the garden when we moved in, I took this picture about a week after moving day when we were still surrounded by boxes! The garden hadn’t been looked after in over a year so there was a lot of old planting and overgrown shrubs that needed taming and a trellis that ran along the middle, behind which an old veggie plot lay unused. Our plan was to put the office in the back left-hand corner so most of that side of the garden needed to be pulled down and dug out, including the huge laurel bush behind the apple tree! Taking the laurel down was a bit beyond us so we called in some help from a local tree surgeon who chopped it all down and ground the stump out.
Once that was all done we had to get rid of everything in the far corner of the garden including compost bins and concreted in fence posts. The area also needed to be level to within a few centimetres, this didn’t look too difficult but the ground was about half a metre out at various points and the roots of about a million shrubs had forced the soil up in strange places. These roots became our nemesis, they were everywhere and incredibly stubborn, but after a few long hot weekends wielding saws, shovels, mattocks and brute force we finally got the ground to something that could be described as level-ish. Phew!

Laying the foundations
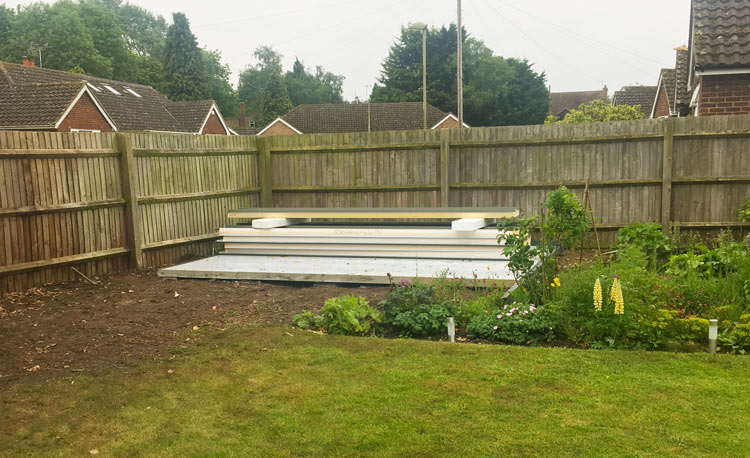
Once we’d got the site level the foundations team came in and laid the base. I’d expected them to pour a solid concrete base but thankfully they didn’t need to! The base sits on concrete piles, about 25 in total I think and the guys made pretty quick work of digging those holes (put our efforts in the previous weeks to shame to be honest!). Once the holes were dug they filled them with concrete and sat the base on top. It was all super quick and we could start to see the size of the building both in terms of how big it was to work in and how much of the garden it took up! We learned pretty quickly that things always look smaller without walls! While we waited a week or so for the build to start we got our electrician to come in a run a spur down the fence line for power to the office.
Build day
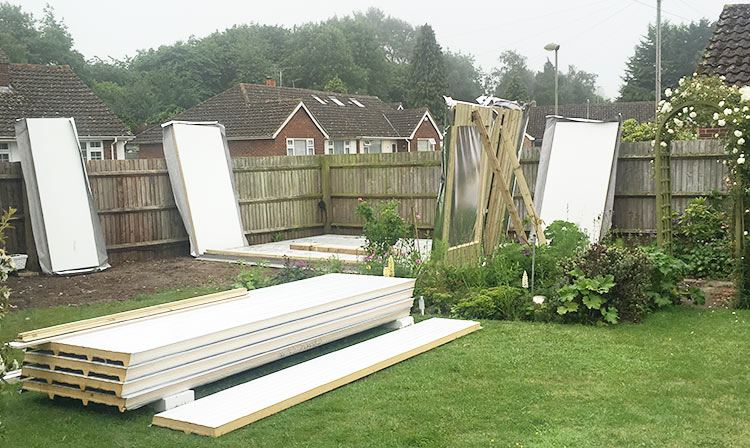
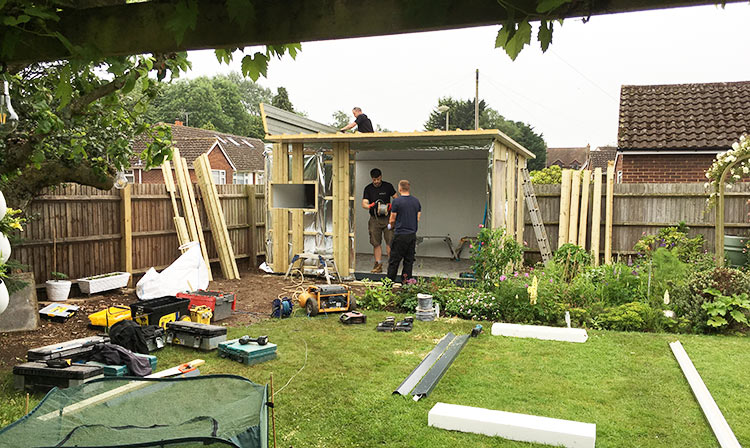
About a week later the construction team arrived with our walls and roof! It all happened so quickly that we barely had time to take any photos. The team arrived at about 8am and were done that afternoon. Amazing.
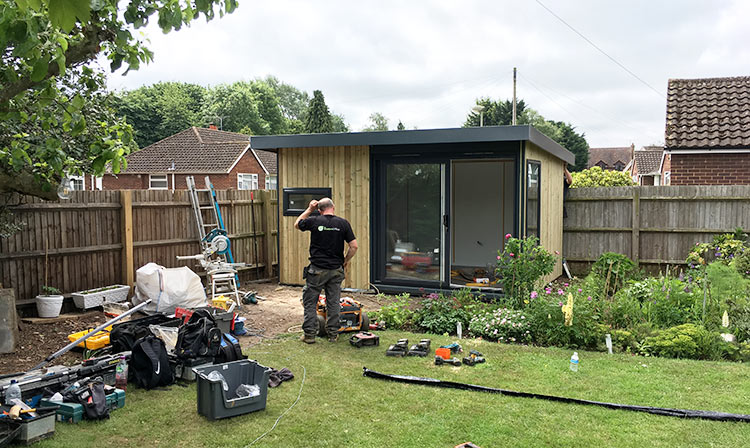

Doesn’t it look great, super neat and fits perfectly in the garden. I’m glad we kept the flower bed wrapping around the front as it blends the building into the planting and gives us something beautiful to look at, plus that rose outside the door smells amazing as it wafts into the office.
Come back soon for part two where I’ll be taking you inside the building and showing you how it looks in there (spoiler alert, it’s gorgeous!) and once we’ve finished landscaping the garden with some decking and planting along the fences I’ll write part three about all that!