


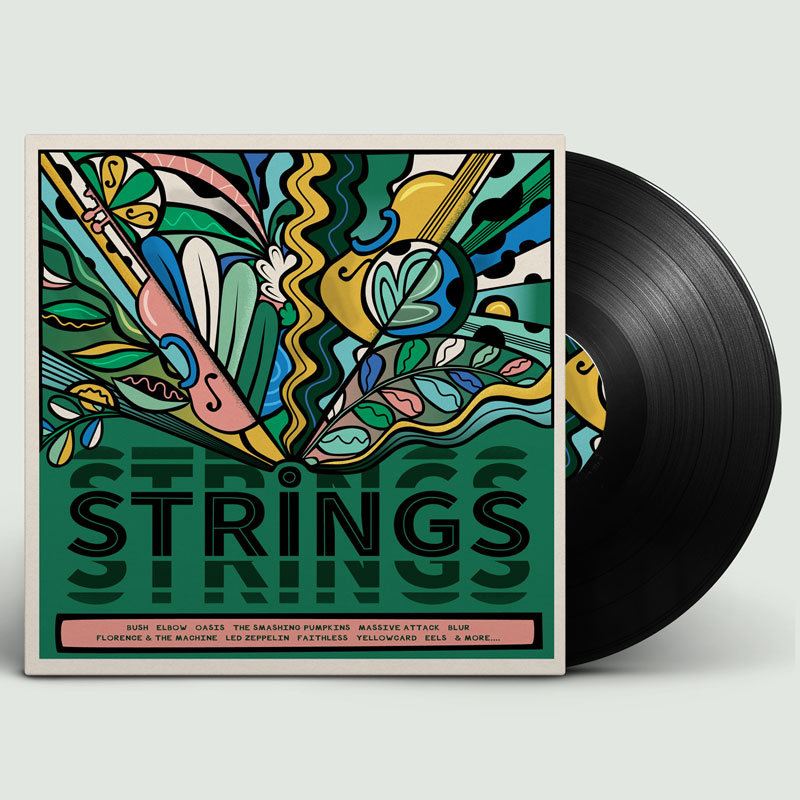
Sam Osborne, freelance UK illustrator and designer from Oxfordshire.
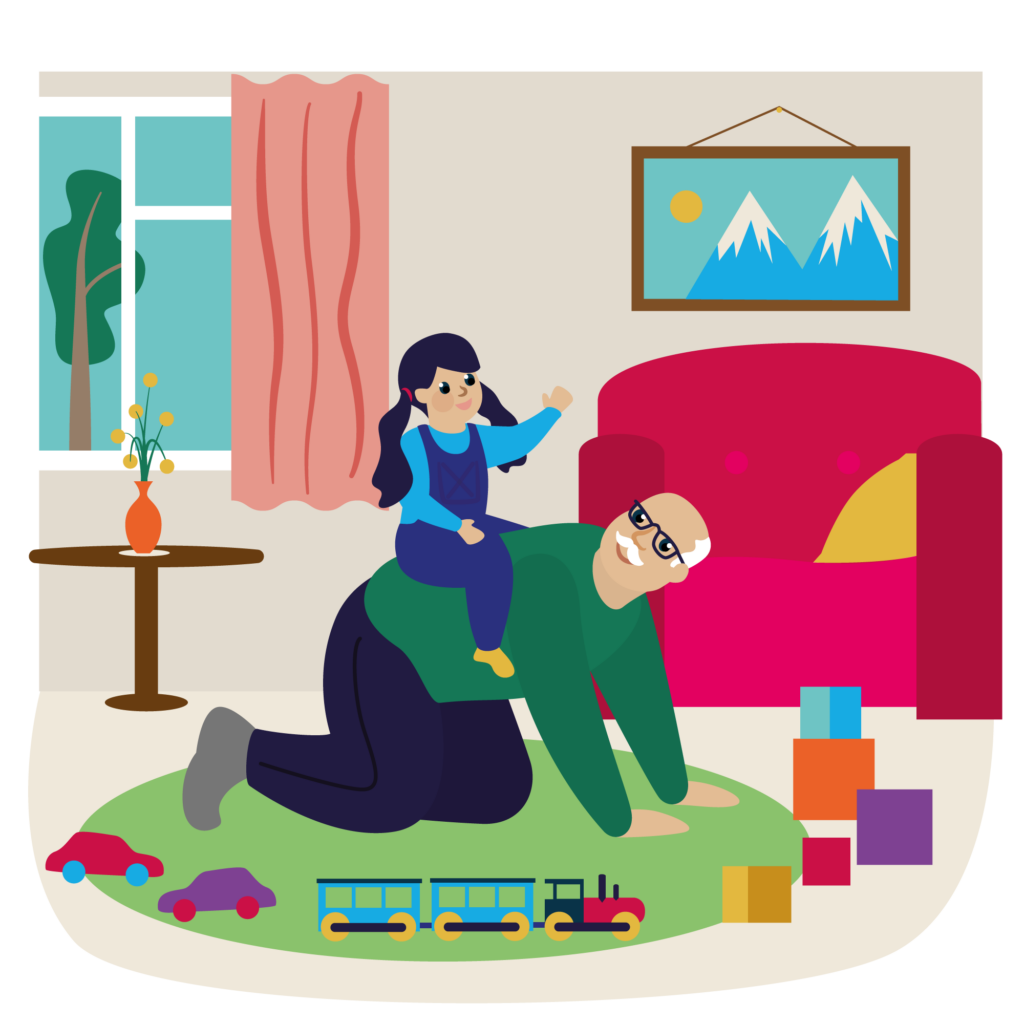
I love to create playful illustrations that bring ideas to life and celebrate the joy of people, places, products, and information.
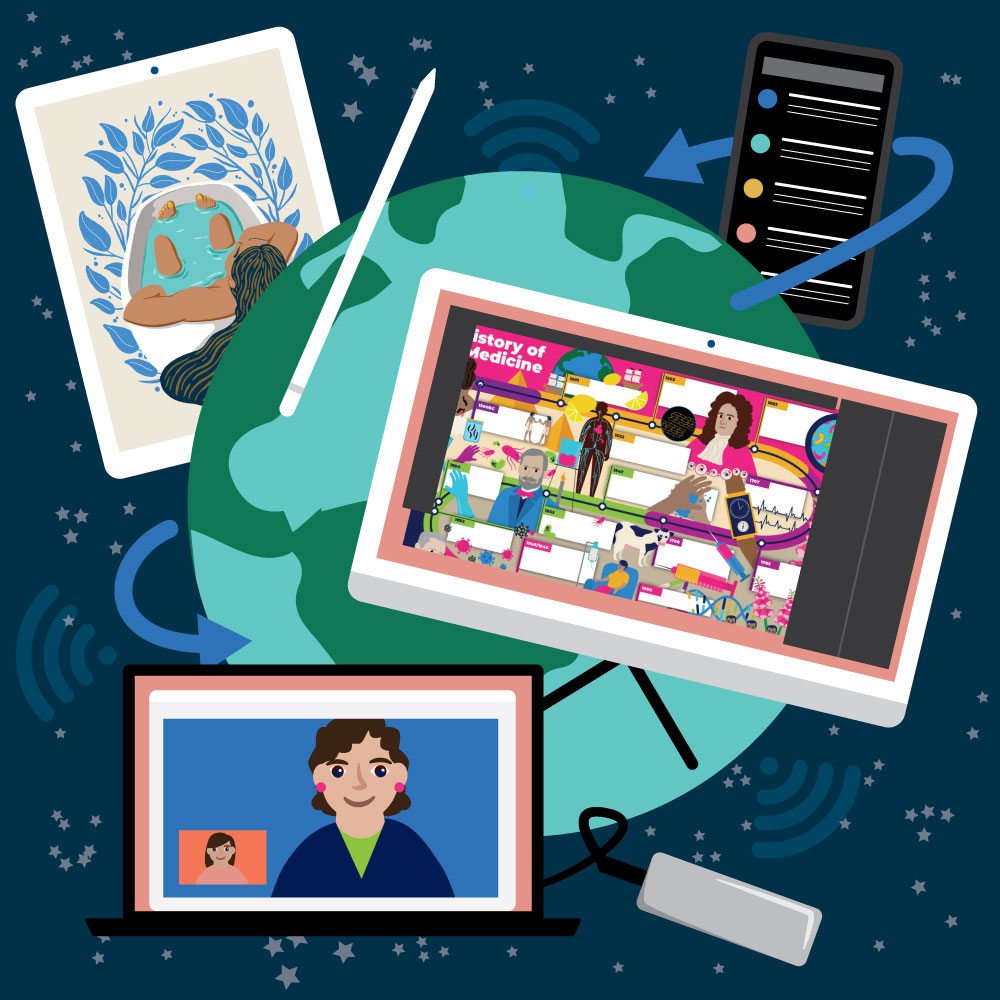
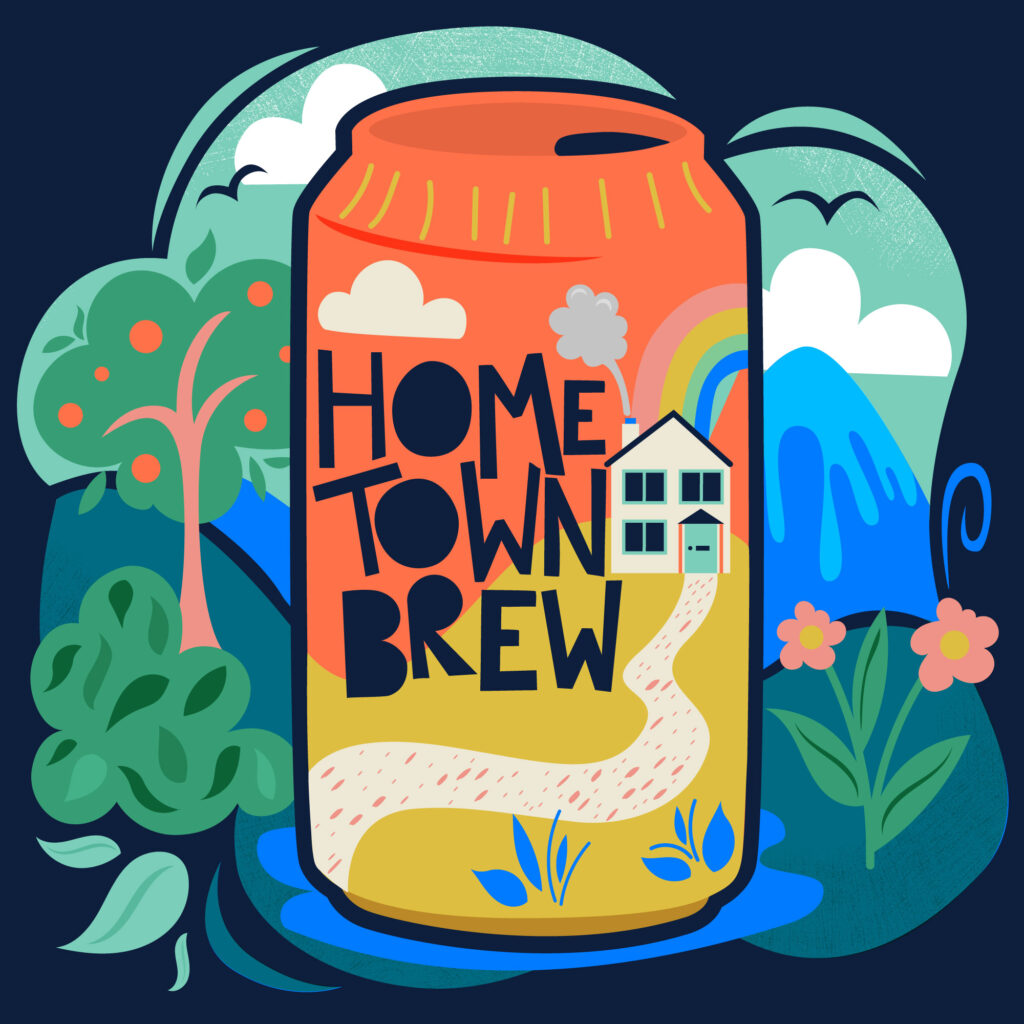
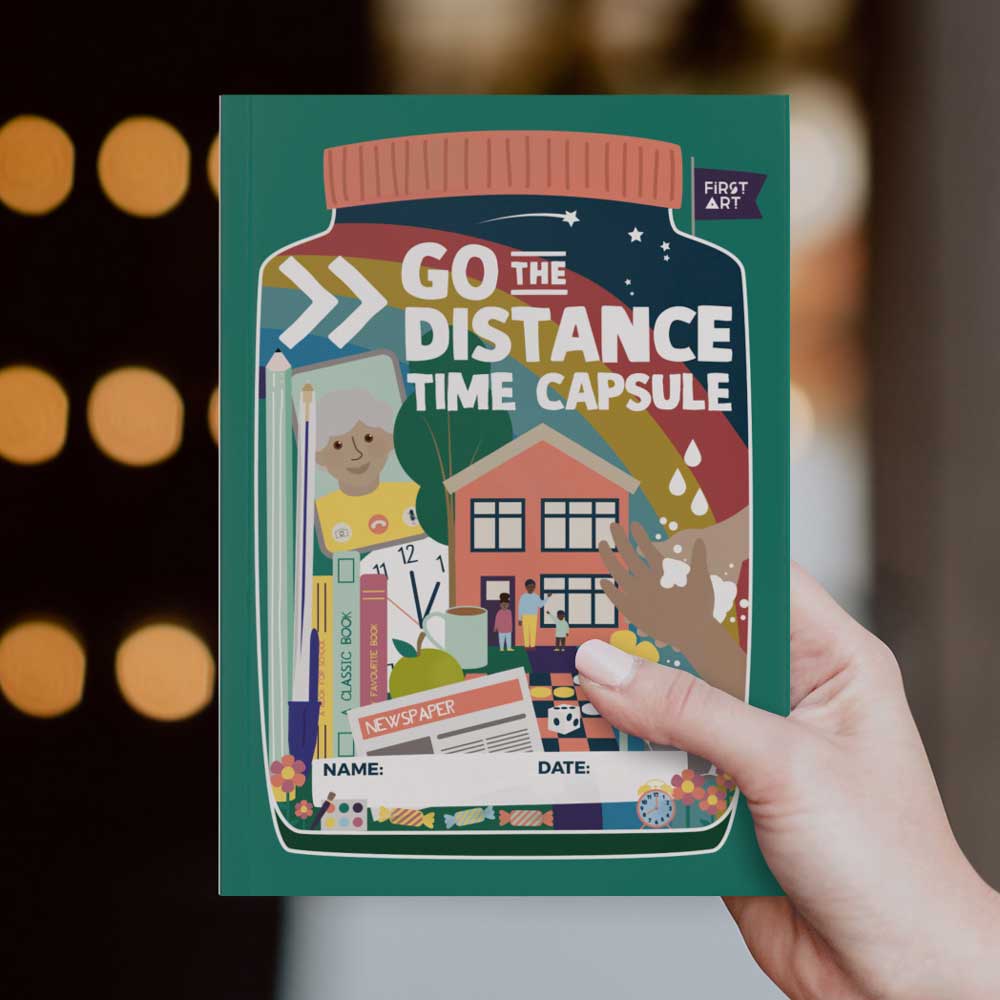
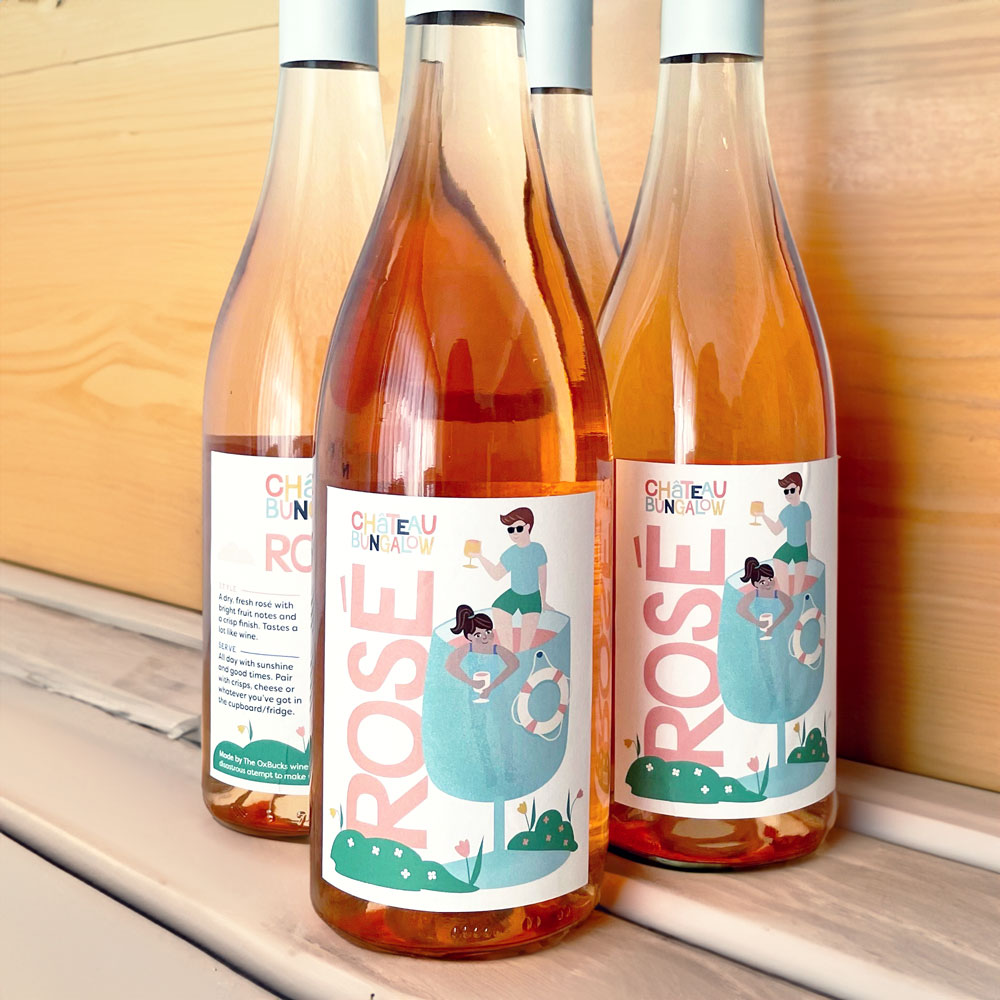
My portfolio includes print-based and digital work in advertising, packaging, branding, publishing, editorial, education and the charity sector.
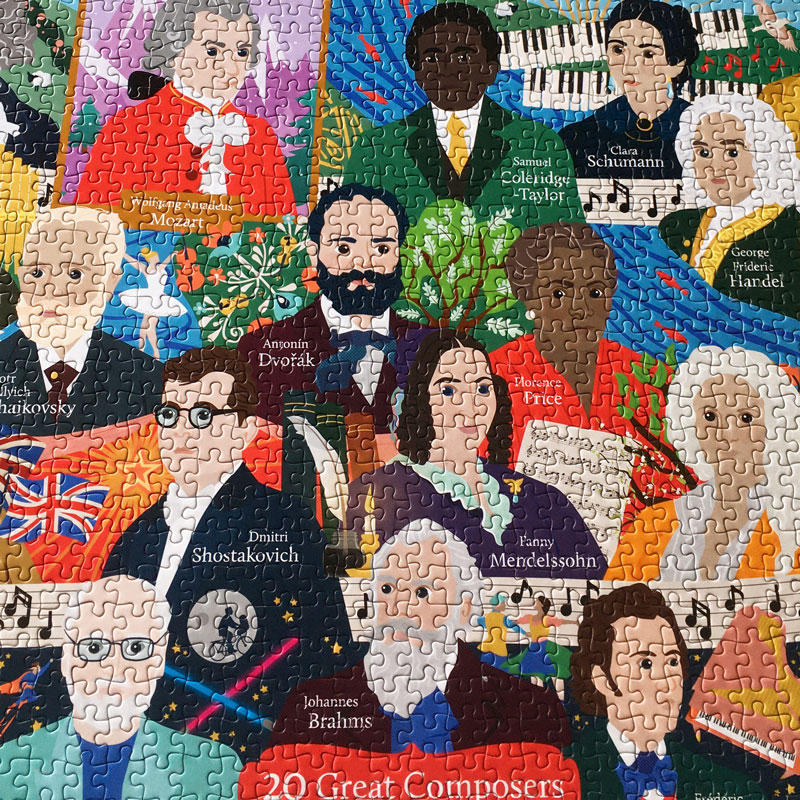
Plus my illustrations have been used on jigsaw puzzles, wall murals, merchandise and clothing ranges.
About me
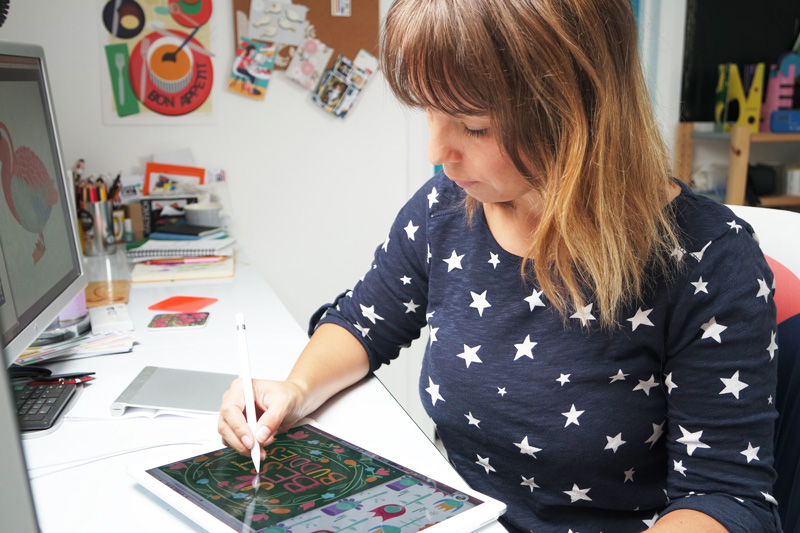
I am a freelance uk illustrator and designer, bringing over two decades of experience to my work. I create vector illustrations using Adobe Illustrator and pixel-based artwork using Procreate for iPad. My approach is rooted in the belief that creativity has the power to inspire, uplift, and connect people from all walks of life. I’m dedicated to spreading joy, fostering creativity and igniting a love of learning through my work.
Let’s work together
If you’ve got an illustration or design project you’d like to discuss, drop me an email
Email meMy clients include